Equipment: Raspberry Pi 4B 8GB, 120GB SSD, 16GB micro-SD card, micro-HDMI cable, Geekworm Aluminum Case, CananKit 5V-3A power adapter, CanaKit PiSwitch.
I recently purchased the latest generation Raspberry Pi (4B). Apparently, it still struggles to play 1080p videos, but if used to set up a static blog server, the quad-core ARMv7 processor can handle the load (as long as you don’t expect tens of thousands of visitors flooding in all the time).
After downloading the imager from the official Raspberry Pi website (Raspberry Pi OS), I selected the 1.2GB 32-bit version of the Operating System and wrote it to a 16GB microSD card. (I’d done my research beforehand: installing the OS on an SSD would provide blazing-fast performance, but unfortunately, the official imager couldn’t directly write Pi OS to an SSD on my Ubuntu 18.)
I tried two methods found online for installing the operating system on an SSD and booting from it, but eventually discovered that a single SD card was sufficient.Some say you need to first write the USB bootloader to the SD card and boot from it once, then write the operating system to the SD card and boot from that. Since I only had one SD card on hand, this process of repeatedly writing to the card felt like a huge waste of time. In reality, you can simply write the operating system directly to the SD card, boot from it, and proceed from there.
I strongly recommend that Raspberry Pi beginners get a micro-HDMI cable. After all, some operations require using the command line for headless installation, which can be a bit challenging. Adhering to the principle of being as lazy as possible, if we can solve problems by looking at the screen and moving the mouse, there’s no need to skimp on this small expense.
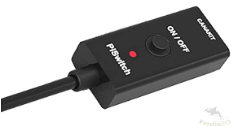
After years of trial and error with Arduino and various embedded controllers, I’ve learned that having a power switch makes the initial learning curve much smoother when working with these small devices. So, I’ve also purchased a power switch that can cut off the USB-C power supply.
| |
|
| CanaKit PiSwitch | 5V-3A power adapter |
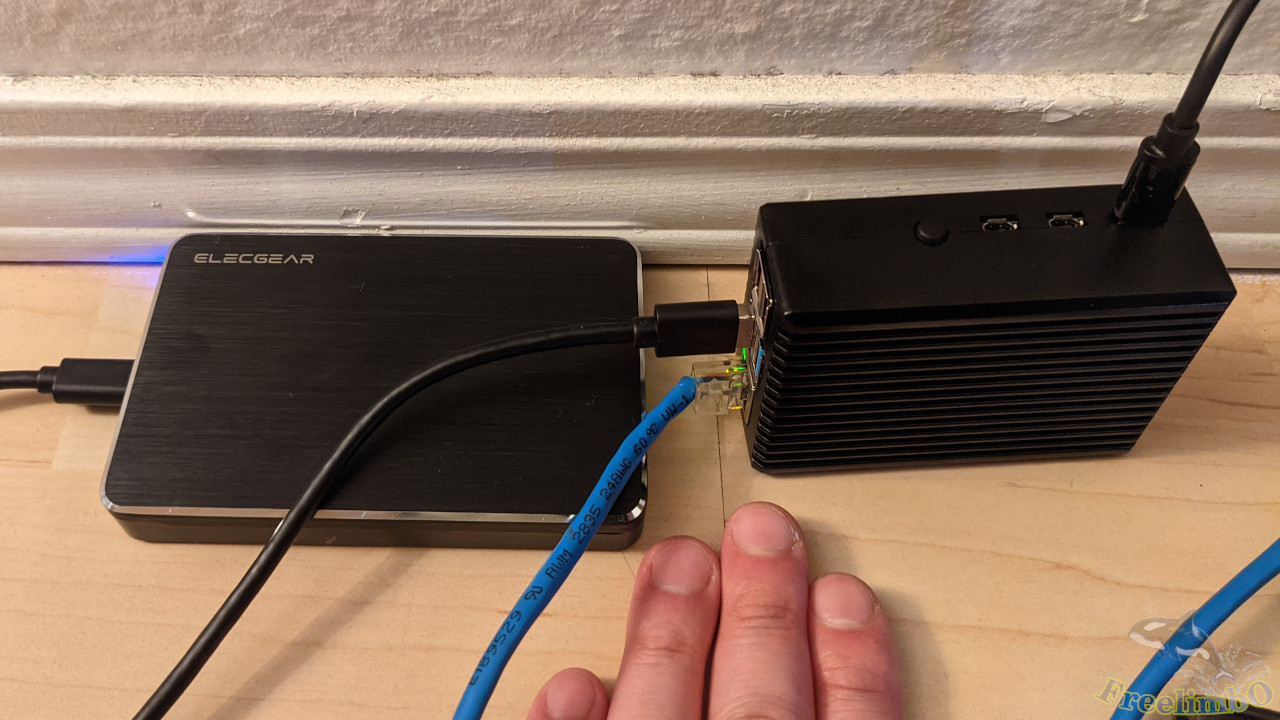
Before powering on, remember to plug the micro-HDMI cable into the Raspberry Pi’s HDMI0 port (the one closer to the USB-C power port), insert the SD card, and then power on the device.
|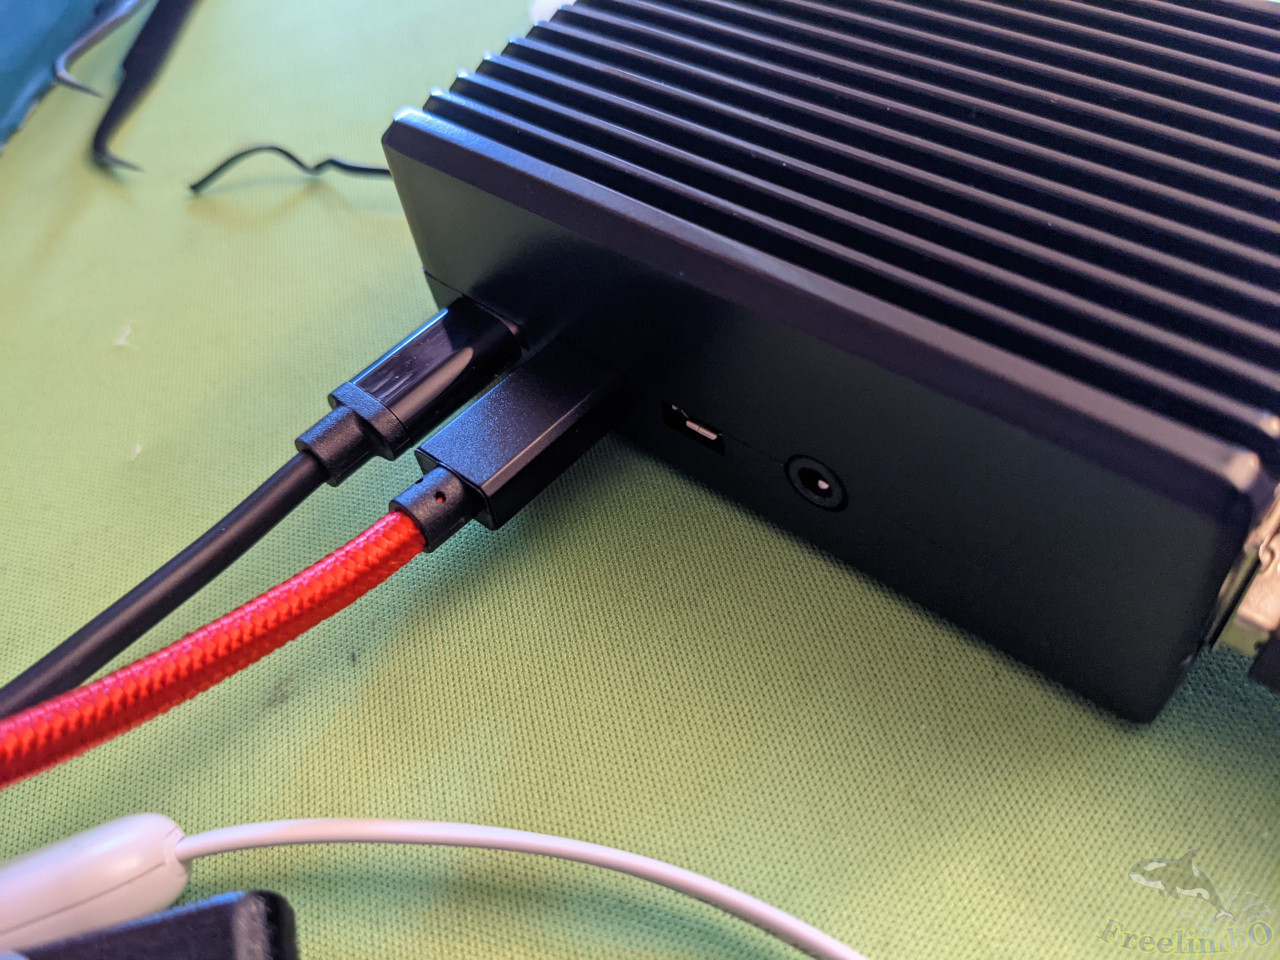
| HDMI0 (red) is the port closest to the USB-C (black) port. |
At this point, you should typically see a DOS-like boot screen. The first boot will require some hardware detection and automatic configuration, so you’ll need to wait a few minutes before the desktop appears.
|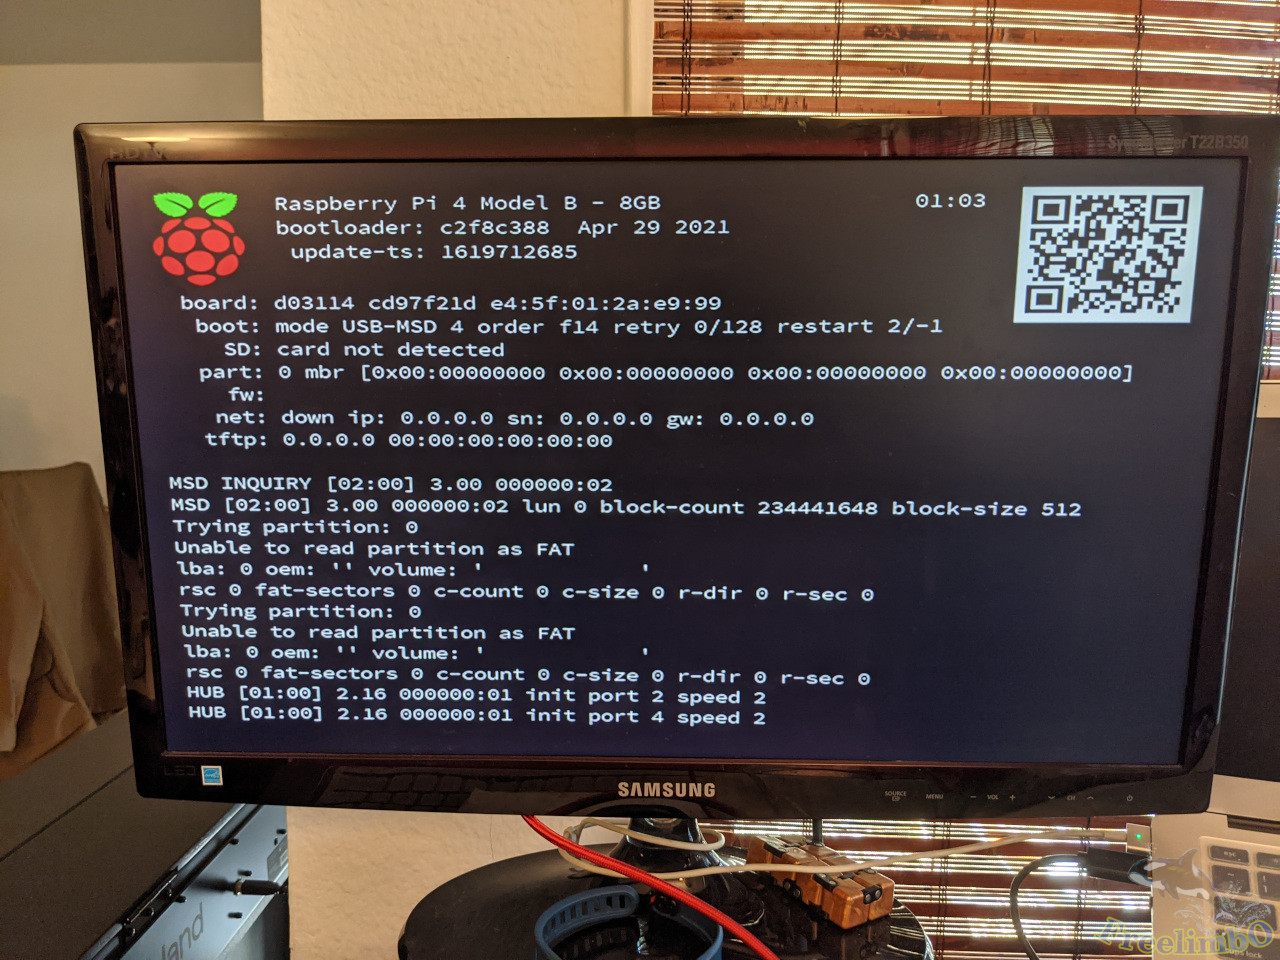 |
|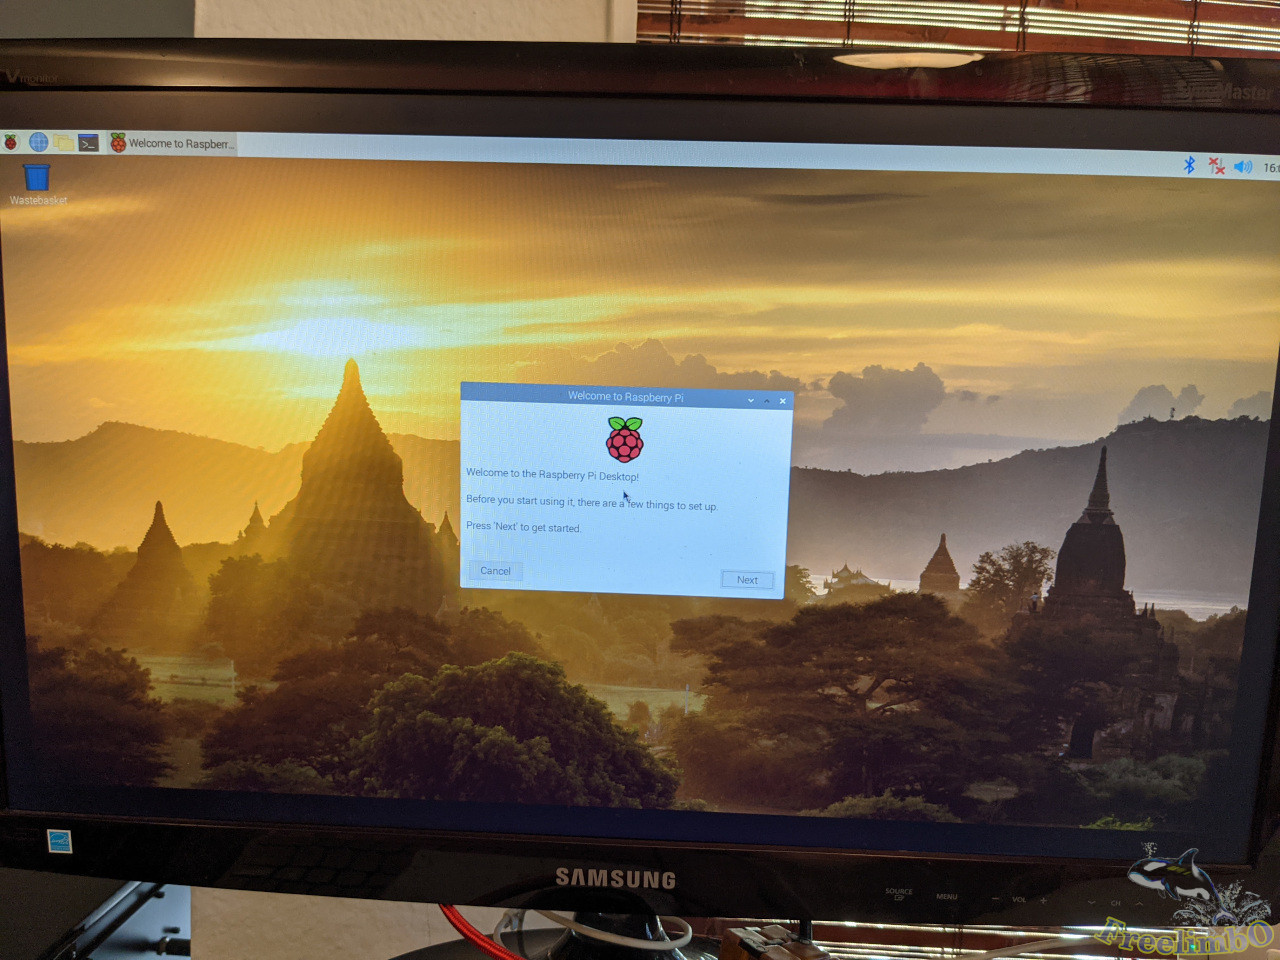
| DOS-like startup | Pi OS Desktop |
Next, you need to configure the display memory and boot order. Press Ctrl+Alt+t to open the command line and enter $ sudo raspi-config . The display memory is listed under “Performance.” My Raspberry Pi has 8GB of RAM, so here I entered 2048 (the unit is MB).Although I plan to run it in headless mode long-term, I occasionally need to open the file manager (pcmanfm) or backup software (deja-dup) via SSH for configuration, so I still want its graphical performance to be decent.For the boot order, go to the Advanced settings and select USB priority. Here, USB is set as the first boot option, but if the USB drive isn’t detected, the system will still boot from the SD card. After exiting raspi-config, the system should reboot and automatically install the USB bootloader. Since the USB SSD isn’t inserted yet, the system will automatically boot from the SD card that’s still in the slot.
Once back at the desktop, insert the USB SSD into a USB 3.0 port (it must be 3.0). Then, from the menu in the top-left corner, select Accessories -> SD Card Copier to copy the operating system from the SD card to the SSD.This process takes about 20 minutes, so please be patient. However, I had to repeat this three times before succeeding—turns out my external hard drive enclosure was too power-hungry. The Raspberry Pi’s USB power supply apparently couldn’t consistently support my enclosure, causing the first two attempts to fail at the very end. It took me over an hour to realize I needed to try a different enclosure. Talk about a nightmare.
After the full system copy was complete, I shut down the device, removed the SD card, and left only the SSD connected to the Raspberry Pi. I booted it up, and once I saw the desktop, I thought I was done.
Not a chance. After booting up, I connected the Ethernet cable, went into Preferences, and enabled SSH. I opened the command line, set the IP address, and entered
$ sudo vi /etc/dhcpd.conf
Add four lines at the end of the file:
interface <internet interface>
static ip_addres=<the designated LAN ip>
static routers=<your router ip>
static domain_name_servers=<your router ip> 8.8.8.8
. You can check<internet interface>
and<your router ip>
using the command ``$ ifconfig —they’re usually eth0 and 192.168.0.1. As for<the designated LAN ip>
, just assign an IP address in the same subnet that doesn’t conflict with other devices.
Next, open a command prompt on another computer and enter:
$ ssh pi@<the designated LAN ip>
The default Raspberry Pi password is “raspberry.” You should be able to log in remotely without any issues.
Return to the Raspberry Pi desktop, go to Preferences, and select “Boot to CLI” to ensure the desktop doesn’t appear when booting headless in the future. After shutting down, disconnect the monitor, mouse, and keyboard. All future operations will be performed via SSH remote login.